 Camilla Jessen
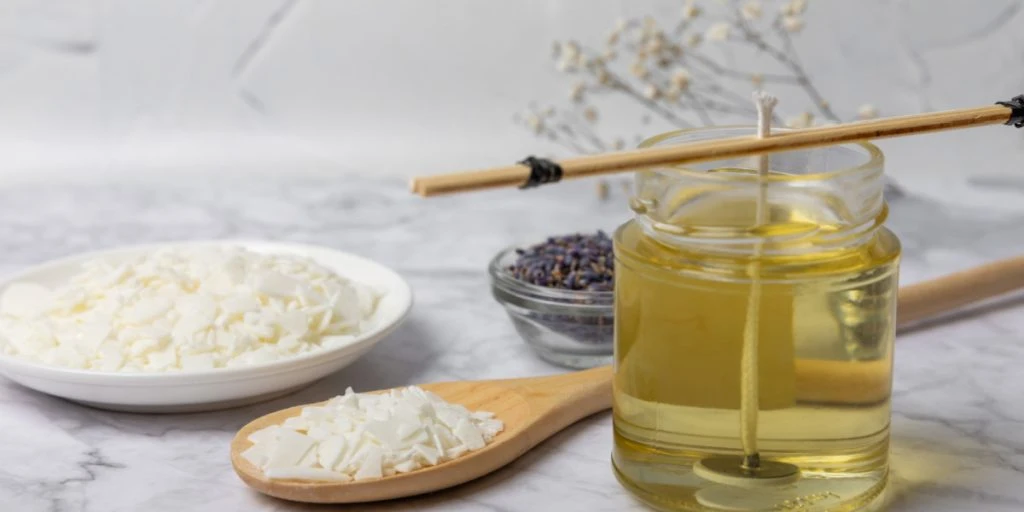
Need a new hobby? Why not give homemade scented candles a try? Here’s a quick guide.


Transform your living space with custom-made scented candles, adding a personal touch and saving on costs.
Essential Supplies and Setup
Ready to start? Here’s what you’ll need.
Wax: Whether you’re eyeing that creamy soy wax for its eco-friendly burn, the budget-friendly paraffin, or the all-natural beeswax that smells like heaven but is a bit pricier, there’s a wax for every candle maker.
Wicks: Wicks with metal bases make life easier, keeping everything straight and tidy in your candle.


Vessels: When it comes to choosing vessels for your candle creations your options are endless. From charming mason jars that scream ‘homey’ to elegant glassware that adds a touch of class.
Scents: Essential oils are an easy way to add fragrances like vanilla or lavender to your candles. You can also use finely chopped tea leaves or herbs. However, avoid potentially flammable or toxic ingredients.
Step-by-Step Guide
Step 1: Measure the Wax
To ensure you have enough wax, fill your chosen container with flakes to gauge the required quantity, then double it as wax reduces by half when melted.
Step 2: Melt the Wax
Slowly melt the wax in a double boiler, starting with low heat and increasing slightly if necessary. Stir continuously with a disposable utensil, such as chopsticks, to prevent the wax from burning and ensure an even melt.
Step 3: Add Scent
Once the wax is liquid, stir in your chosen essential oils. A standard guide is to use about 30 ml of oil per 450 grams of wax, but this can vary based on the oil’s strength and your preference. Keep track of the oil amounts for future reference to fine-tune the scent strength.
Step 4: Anchor the Wick
Clean your jar, then dab a bit of wax on the wick’s metal base to stick it right in the middle of your container. Keep it standing with some chopsticks or a pencil.
Step 5: Pour in Wax
With your wick patiently waiting, pour in the wax. Wear an oven mitt to avoid hot splashes.
Step 6: Patience is Key
Let your candles cool down and solidify. A few hours should do, but overnight works wonders.
Step 7: Trim the Wick
Once solid, give your wick a trim to about 1 cm. This little snip ensures your candle burns just right, avoiding a bonfire in a jar or a smoky mess.
And there you have it — your very own homemade scented candle, ready to brighten up your space or charm someone as a heartfelt gift.


